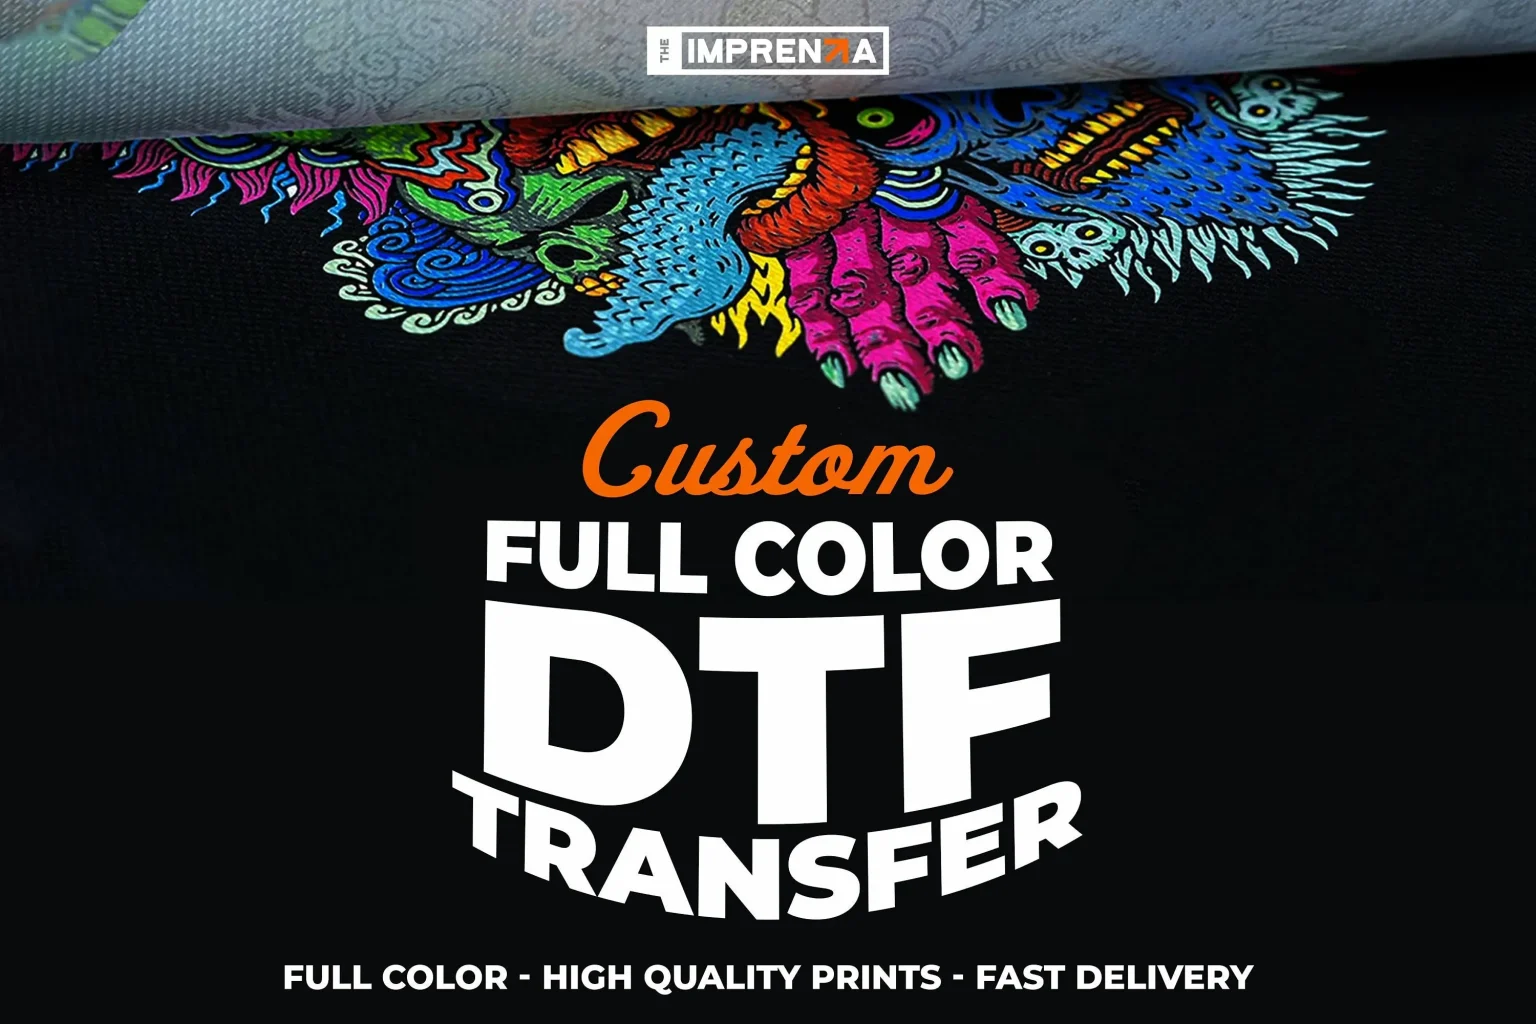
DTF transfers have revolutionized home-based apparel and product customization, turning a small corner into a vibrant, repeatable print studio. By combining a dedicated DTF printer setup, reliable DTF film, and a heat press, creators can achieve professional results without a traditional shop. A well-structured home print studio benefits from a simple workflow, consistent materials, and proper curing to ensure durable, color-rich transfers. Careful attention to color management, ink quality, and surface preparation helps maintain a high-level finish across fabrics like cotton and blends. Whether you’re prototyping designs or producing small runs, understanding the tools and setup is the foundation of a scalable, satisfying process.
Another way to describe this technique is the direct-to-film process, a film-based method that translates artwork onto fabrics using powder and heat. This approach fits neatly into a home print studio, supporting small runs and on-demand customization with a compact DTF workflow. By aligning your printed film, adhesive powder, and a reliable heat press, you can maintain consistent results without a large industrial setup. Focus on color accuracy, substrate testing, and proper curing to protect the design and extend the life of each transfer. Overall, the method shares roots with other fabric transfer techniques but offers a modern, flexible path for DIY apparel projects.
DTF transfers in a Home Print Studio: Essential Tools and Setup
DTF transfers have transformed hobby spaces into capable home print studios, enabling professional-looking results without a commercial shop. The core ingredients are clear: a reliable DTF film, a properly configured DTF printer setup, and a heat press with even pressure. Pair these with a controlled workspace and you’re ready to begin testing designs on cotton and blends.
Key components include DTF film sheets, a properly configured DTF printer setup, adhesive powders, and a sturdy DTF heat press with even platen pressure. Designing a dedicated, dust-free zone helps with ink adhesion, powder distribution, and safe curing, laying the foundation for consistent transfers across projects.
Choosing the Right DTF Film and Adhesive Powder for Durable Results
DTF film quality directly affects edge sharpness and color fidelity. Look for PET or polyester film with uniform thickness and a smooth surface to minimize ink scatter. The film acts as the carrier and determines how well powder adheres during the transfer step, so investing in high-quality DTF film is essential for clean edges.
Adhesive powder quality and distribution are equally critical. A consistent powder layer prevents halos and ensures clean edges. Proper curing of the powder before transfer stabilizes the surface and interacts with the film and fabric for durable results on cotton, cotton blends, and some synthetics.
Setting Up Your DTF Printer: From Ink to RIP Software
Setting up a DTF printer goes beyond simply plugging in a device. It includes installing the correct CMYK ink set, configuring cartridges for the DTF workflow, and selecting RIP software that manages color profiles and print layouts. A well-tuned DTF printer setup reduces color drift and improves consistency across runs.
Calibration is key: run test swatches on the DTF film to verify ink density, drying time, and adhesion. Use ICC profiles and a color-managed workflow to align on-screen design with the printed result. The balance between printer, film, and powder must be maintained to achieve vibrant, durable transfers in a home print studio.
Mastering Heat Transfer: DTF Heat Press Techniques for Consistent Quality
DTF heat pressing requires precise temperature, pressure, and time. Set your heat press to the typical 300–320°F (150–160°C) range and adjust for fabric type, ensuring even pressure across the garment surface. A teflon or silicone cover sheet helps prevent sticking and maintains a flat transfer.
Use a test fabric to dial in dwell time and cooling strategy. A stable home print studio setup benefits from consistent handling, which reduces ghosting and curling. The right combination of a reliable DTF heat press and appropriate transfer sheets supports durable results on cotton, blends, and some synthetics.
Workflow and Quality Control for Consistent DTF Transfers
A repeatable workflow starts with design and proceeds through printing, powder handling, curing, and transfer. Document each setting used for different fabrics, including film type, ink density, and powder amount, so you can reproduce results in your home print studio with confidence. Integrating DTF film, printer setup, and heat press steps is essential for consistency.
Quality control addresses common issues like white halos, color mismatch, or adhesion problems. Build a small testing library of fabrics and designs, and adjust RIP profiles and curing times based on results. Regular calibration of the heat press and routine cleaning of film paths help maintain reliability in day-to-day production.
Safety, Maintenance, and Space Planning in a Home DTF Studio
Operating a DTF workflow in a home setting requires attention to ventilation, dust control, and safe handling of powders and hot surfaces. A designated workspace helps separate printing, curing, and transfer stations while keeping the rest of your home clean. Ensure you have proper protection when working with powders and manage cords and space for your DTF heat press.
Maintenance routines—regular cleaning, stock checks, and keeping a log of temperatures and settings—promote long-term reliability. Store films and powders in sealed containers to minimize moisture ingress, and use wipe-downs with isopropyl alcohol for nozzle cleaning on the printer. Documenting your pipeline makes it easier to scale your home print studio over time.
Frequently Asked Questions
DTF transfers: How do DTF film and a proper DTF printer setup impact results in a home print studio?
DTF transfers rely on high-quality DTF film and a calibrated DTF printer setup. In a home print studio, ensure your printer uses the correct color profiles, consistent ink, and even film handling to prevent smudges and color shifts.
DTF transfers: What are the essential tools for achieving reliable results in a home print studio using a DTF heat press?
Key items include DTF printer setup, DTF film sheets, adhesive powder, curing equipment, and a temperature-controlled DTF heat press. Also use release sheets and proper safety steps to maintain quality.
DTF transfers: How can I optimize the DTF printer setup to minimize color mismatches and ensure consistent results?
Use RIP software with ICC color profiles, calibrate color output, and test on sample fabric. Maintain consistent ink quality and drying times to prevent color shifts across transfers.
DTF transfers: What steps in the workflow help with curing adhesive powder and preventing halos during a home print studio project?
After printing, evenly apply adhesive powder and cure it according to your material’s guidance. Use clean release sheets and ensure powder is evenly distributed to minimize halos and edge fuzz.
DTF transfers: Which substrates and DTF film choices deliver durable results when printing at home with a heat press?
Cotton and cotton-poly blends work best; test fabrics for adhesion. Choose a consistent DTF film with a smooth surface and uniform thickness, and pair it with compatible inks and top coats when desired.
DTF transfers: What are common issues like curling or poor adhesion, and how can I troubleshoot them in a home print studio?
Check film flatness, verify powder distribution, and adjust heat press temperature and pressure. Revisit curing times and transfer durations, and ensure proper release sheets to prevent ghosting and curling.
| Aspect | Key Points |
|---|---|
| Tools & Equipment | DTF printer or compatible inkjet configured for DTF workflow; DTF film sheets; Adhesive powder; Curing equipment; Heat press with adjustable temp/pressure; Release/protection sheets; Cleaning/quality-control supplies; Finishing tools; RIP software and color management. |
| Materials & Substrates | Textile substrates (cotton and blends); Powder quality/consistency; Optional post-transfer top coats; Backing sheets and masking tapes; Cleaning agents. |
| Setting Up a Home Studio | Dedicated workspace; Ventilation and safety; Temperature/humidity control; Electrical/space planning; Workflow layout; Safety and maintenance routines. |
| Workflow Overview | Design; Printing onto DTF film; Powder application; Curing the powder; Transfer setup; Heat pressing; Reveal and cooling; Post-transfer curing/finishing. |
| Quality Control & Troubleshooting | White halos or edge fuzz; Color fading/mismatch; Poor adhesion on certain fabrics; Film curling/warping; Remedies include adjusting powder, temps, curing times, and color management. |
| Maintenance & Best Practices | Regular calibration; Cleanliness of film path and equipment; Material testing on fabrics; Documentation of settings; Safety routines. |
Summary
DTF transfers table summarizes the essential tools, materials, setup considerations, workflow steps, and maintenance practices needed for a home DTF print studio. The table highlights the primary categories (tools, substrates, setup, workflow, quality control, and ongoing care) and provides concise points to guide a beginner through creating consistent, high-quality DTF transfers in a home environment.
Conclusion: DTF transfers enable hobbyists to achieve high-quality, durable fabric designs right from a home studio. A well-equipped setup, careful material selection, and a structured workflow lead to repeatable results. By documenting settings and continuously testing fabrics and profiles, you can scale your DTF transfers projects. Stay curious, refine your tools and processes, and gradually evolve your home print studio into a reliable production workflow for DTF transfers.


