
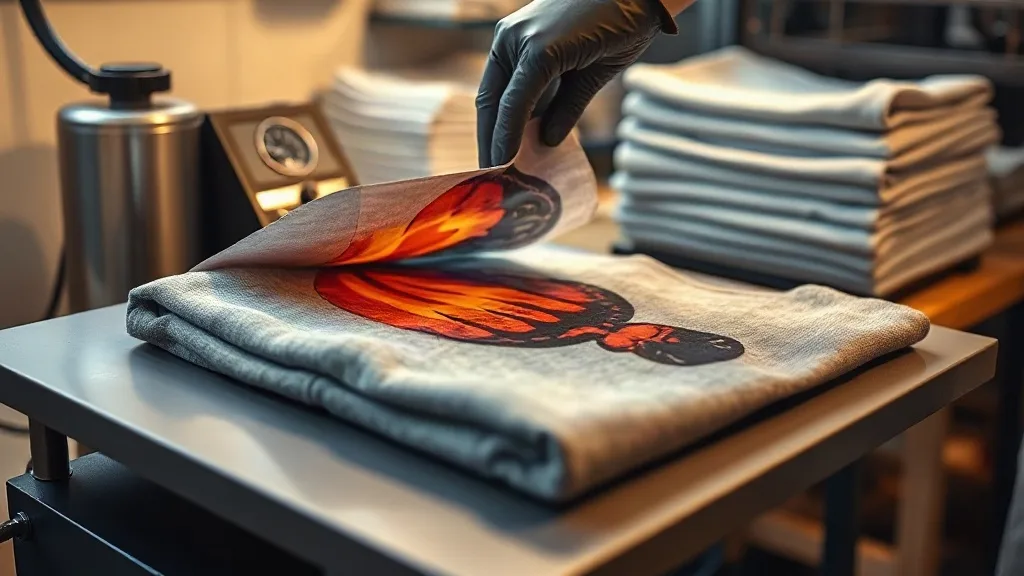
Most DTF trouble reports start the same way: the print looked perfect on a 100% polyester tee, then fell apart on a 50/50 or tri-blend. That gap is real, and it catches a lot of shops off guard. Cotton and rayon fibers absorb and hold heat differently than polyester, they expand and contract at different rates, and they grab adhesive powder with more or less bite depending on the weave. The good news is that dtf transfers still work beautifully on blends. You just have to stop treating every garment like it is the same substrate.
This guide is about the specific physics of blends and what to change when you press them. If you are already comfortable with the basics of dtf printing, this is the next layer: the adjustments that separate a print that survives twenty washes from one that starts flaking after three.
Why blends behave differently under the press
Polyester is a thermoplastic. Heat softens it slightly, which is exactly why DTF adhesive bonds so aggressively to a 100% poly shirt. Cotton, by contrast, is a cellulose fiber. It does not melt, it scorches, and it absorbs moisture from the air. When you combine the two, you get a fabric where one component wants to fuse with the adhesive and the other just wants to sit there and let the adhesive grip its surface.
Rayon, the third leg of most tri-blends, adds another wrinkle. It is soft, drapey, and heat-sensitive in a different way from polyester. It can yellow or glaze if you push temperature too high, and it tends to shrink unevenly compared with the poly content. All of this means the settings that work on a poly performance tee will usually be too hot, too long, or too much pressure for a tri-blend.
The moisture problem nobody talks about
Cotton-blend shirts pull humidity from the air, and a slightly damp garment is the single most common cause of a transfer that looks fine on the platen and peels in the wash. The moisture turns to steam under the press, and that steam sits between your adhesive and the fabric. You get partial bonding, sometimes called a cold bond, that feels solid when the shirt cools but fails as soon as it hits water. Pre-pressing the garment for a few seconds to drive off moisture is not optional on blends. It is the difference between a print that lasts and one that does not.
Choosing film and powder for blend garments
Not all DTF film and powder suit every fabric, and this is where a lot of blend-specific failures start. A few practical guidelines:
- Use a matte or cold-peel film for blends with high cotton content. These films release more cleanly at lower temperatures, which protects the cotton fibers from scorching.
- Match powder to the fabric's surface texture. Fine-grit adhesive powder sits better on tight tri-blend knits. Coarser powder can leave a grainy hand feel on soft blends.
- Avoid over-powdering. Excess powder that does not melt into the ink creates a brittle layer that cracks when the blend fabric stretches.
- Store film and printed transfers flat and dry. Blends are unforgiving of moisture in the transfer itself, not just in the shirt.
If you are sourcing transfers rather than printing in-house, ask the supplier what film and powder they use and whether they have tested on 50/50 and tri-blend. A supplier who cannot answer that question is a supplier who has not thought about blends, and that shows up in your customer complaints.
Press settings that actually work on 50/50 and tri-blend
There is no universal number, but there is a sensible starting range and a clear direction to adjust in. For 50/50 shirts, start around 300 to 310°F (150 to 155°C) with medium pressure and a press time of 12 to 15 seconds. For tri-blends, drop to roughly 290 to 300°F (145 to 150°C) and keep pressure light to medium. Poly-heavy blends can go a little hotter, closer to 320°F, but watch for scorching on the cotton side.
Here is the sequence that consistently works:
- Pre-press the garment for 3 to 5 seconds to remove moisture and flatten the weave.
- Place the transfer with the adhesive side down and press at your starting temperature and pressure.
- Peel cold or warm depending on your film's instructions. Cold peel is safer on blends because it lets the adhesive cool and set before you pull the carrier away.
- Do a second short press of 3 to 5 seconds with a cover sheet to lock the edges. This step matters more on blends than on pure poly because the fabric surface is less uniform.
Pressure is where most people overshoot. Heavy pressure on a tri-blend flattens the knit and forces adhesive into the gaps between fibers, which looks fine at first and then peels in patches. Light to medium pressure lets the adhesive sit on the surface where it belongs.
Reading the signs of a bad press on blends
A print that looks slightly dull right after pressing is usually a sign of too little heat or too short a dwell. A print with a shiny, glazed appearance on a cotton-rich blend is a sign of too much heat. If the edges of the transfer look feathered or the film releases with resistance, your temperature is likely too low for the film you are using. These are quick visual checks you can do before the shirt ever reaches a customer.
Testing wash durability before you sell
Blend prints need a wash test, and a real one. Run the finished shirt through a full cycle at 40°C with a normal detergent, then tumble dry low. Repeat three times and inspect the edges, not the center. Edges fail first on blends because that is where the adhesive has the least support from the fabric. If the edges hold through three washes, you have a sellable print. If they lift, your issue is almost always moisture, pressure, or powder coverage, in that order.
Keep a small log of settings for each blend type you print. After a few weeks you will have a reference that saves you from re-testing every new garment, and your consistency across orders improves noticeably.
Working with a transfer supplier on blends
If you outsource, the same logic applies but the leverage shifts. Tell your supplier exactly which garments you are printing on, including the fiber content and the brand if you can. A good supplier can adjust film choice and powder for that specific substrate. If you are searching for dtf transfers near me and comparing options, ask each one how they handle 50/50 and tri-blend orders. The answers will tell you quickly who understands blends and who is running a one-size-fits-all operation.
Blends are not a problem to be avoided. They are the most comfortable shirts most customers want to wear, and a shop that can print them cleanly has a real advantage over one that quietly steers every order toward 100% poly.
Frequently asked questions
Can you use DTF transfers on 50/50 shirts?
Yes, and they work well when you adjust for the cotton content. Lower your press temperature slightly compared with pure polyester, pre-press to remove moisture, and use light to medium pressure. The main risk on 50/50 is scorching the cotton and trapping steam under the adhesive, both of which are manageable with the right sequence.
Do DTF transfers work on tri-blend fabric?
They do, but tri-blends are the most heat-sensitive of the common blends because of the rayon content. Keep temperatures around 290 to 300°F, use light pressure, and peel cold. Test a spare garment before running a full order, since tri-blend knits vary a lot between brands.
Why does my DTF print peel off blends but not polyester?
Peeling on blends usually comes down to one of three causes: moisture in the garment turning to steam under the press, too much pressure forcing adhesive into the fabric instead of onto it, or uneven powder coverage leaving weak spots. Pre-pressing, reducing pressure, and checking your powder application will fix the majority of cases.
What temperature should I press DTF transfers on a cotton-poly blend?
Start at 300 to 310°F (150 to 155°C) for a 50/50 blend and 290 to 300°F for a tri-blend. Press for 12 to 15 seconds, then do a short second press with a cover sheet. Adjust upward only if the transfer releases with resistance, and never push into the range where the cotton starts to glaze.
How do I know if my DTF transfer is bonded properly to a blend?
Do a cold peel and inspect the edges first. Then run a wash test at 40°C and tumble dry low, repeating three times. If the edges stay down, the bond is sound. Center failures are rare on blends; edge lift is the reliable early warning sign.