
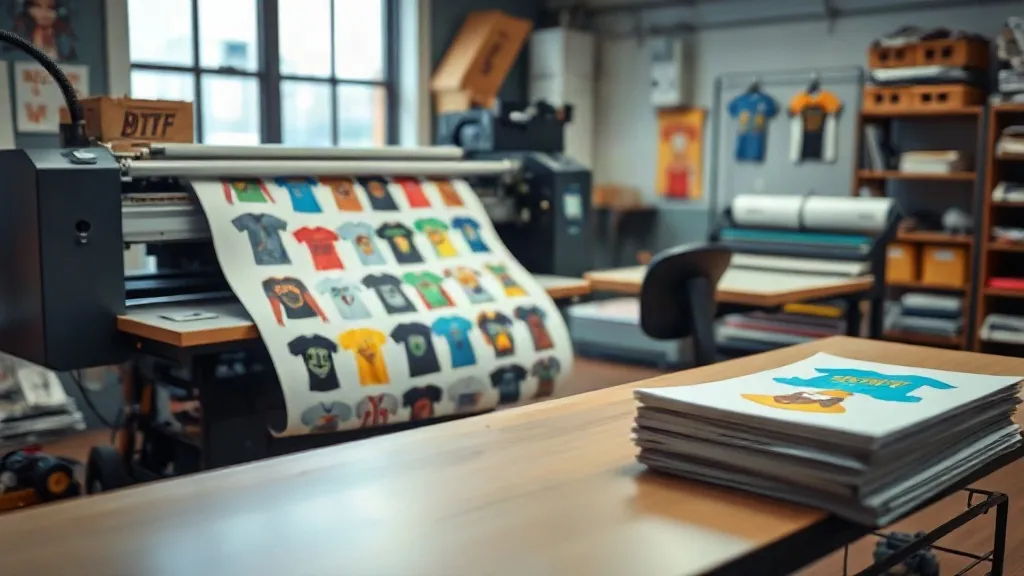
You have probably felt that pang when peeling a transfer off the platen and noticing half the film around it is blank. That empty space is money. DTF film, powder, and ink are not cheap, and every unused inch on a DTF Gangsheet is a small leak in your profit margin. The good news: you do not need a new printer or fancy software to fix it. Most waste comes from habits and planning, not from the machine itself.
In this guide, I will walk through the practical ways to cut film waste without sacrificing print quality. These are lessons from real shop floors, not theory. Whether you run a small Etsy shop or a growing print business, these adjustments can add up to real savings over a month of production.
Why Film Waste Happens More Than You Think
Most operators focus on ink cost, but film and powder often rival ink in monthly spend. A standard DTF film roll is 13 or 24 inches wide, and if you are printing a batch of small left-chest logos, you might use only 40% of the width. That leftover strip gets tossed. Multiply that by dozens of jobs per week, and the waste becomes a line item you cannot ignore.
Waste also hides in reprints. A misaligned file, a color that shifts, or a sheet that curls during powdering can force you to redo an entire gangsheet. Each reprint doubles the material cost for that order. So the first step to cutting waste is to see where it actually comes from.
Common culprits
- Printing one job per sheet instead of combining orders
- Leaving large margins around artwork out of habit
- Using a film width that is too wide for the job
- Not nesting different sizes together
- Reprinting due to file or color errors
Once you identify your own patterns, you can target the biggest offenders first. For many shops, the single biggest win is simply grouping orders onto a single DTF Gangsheet more deliberately.
Plan Your Gangsheet Around the Film Width
Film comes in fixed widths: 13", 17", 24", and sometimes 30". If you design your gangsheet to fit snugly within that width, you automatically reduce side waste. The trick is to think in columns. For a 13-inch roll, you can fit three 4-inch logos across with a small gap. For a 24-inch roll, you might fit six. Instead of centering a single design, build a grid that fills the width.
This approach works best when you have a queue of orders. Before printing, sort jobs by size and group small items together. A 3-inch logo and a 10-inch back print can share the same sheet if you nest them efficiently. The goal is to fill at least 80% of the printable area on every sheet. That might sound ambitious, but with a little practice it becomes second nature.
Use a simple nesting checklist
- List all pending jobs with their dimensions.
- Group by film width (13" jobs together, 24" jobs together).
- Start with the largest items and fill gaps with smaller ones.
- Leave a minimum 0.25-inch gap between designs for clean cutting.
- Rotate designs if it helps fill space without distorting artwork.
You can do this manually in your RIP software or with a gangsheet builder. The key is consistency: make it part of your daily routine, not an afterthought.
Choose the Right Film Width for the Job
It is tempting to keep a wide roll loaded for convenience, but that convenience costs you. If you are printing a batch of 2-inch logos, a 24-inch roll wastes more film on the sides than a 13-inch roll would. Keep multiple widths on hand and switch when the job calls for it. Yes, switching rolls takes a minute, but the savings add up quickly.
For example, a shop that prints mostly small left-chest designs switched from a 24-inch roll to a 13-inch roll for those jobs. They cut film waste by nearly 40% on that product line alone. The switch paid for itself in less than two weeks.
Master the Powder and Cure Stage to Avoid Reprints
Film waste is not just about layout. A sheet that gets ruined during powdering or curing is pure loss. Humidity, static, and uneven powder application can cause adhesives to fail or colors to shift. Here are a few habits that prevent costly reprints:
- Store film in a dry, dust-free area and let it acclimate before printing.
- Use a powder shaker that distributes an even coat, and shake off excess gently.
- Cure at the recommended temperature and check for tackiness before stacking.
- Keep your printer clean and perform regular maintenance to avoid banding.
These steps might seem basic, but they are the difference between a smooth production day and a pile of wasted film. I have seen shops cut reprints by half just by controlling humidity and using a dehumidifier in the print room.
Use Software That Supports Smart Nesting
Many RIP programs include nesting features that automatically arrange designs to minimize waste. If yours does, learn how to use it. Set the gap to the minimum your cutter can handle, and let the software rotate and align items. Some programs even show a waste percentage before you print, so you can adjust before committing film.
If your software lacks nesting, consider a dedicated gangsheet builder. These tools let you drag and drop designs, see the film usage, and export a print-ready file. The investment is small compared to the film you will save over a year.
Track Your Waste and Set Targets
You cannot improve what you do not measure. Start by estimating the printable area of each sheet and how much you actually use. A simple spreadsheet works: log the film width, sheet length, and total design area. Calculate the utilization rate. Aim to increase it by 5% each month. Over time, you will see exactly which job types waste the most and can adjust your pricing or processes accordingly.
Some shops even weigh their film scraps at the end of the week. It sounds obsessive, but it makes waste visible and keeps the team focused on efficiency.
Frequently Asked Questions
How much film waste is normal in DTF printing?
There is no universal number, but well-run shops often achieve 80-90% utilization on gangsheets. If you are below 70%, there is likely room for improvement through better nesting and film width selection.
Can I reuse leftover film from a gangsheet?
No, once film has been printed and powdered, the unused areas are contaminated and cannot be reused. That is why planning before printing is critical.
Does film width really affect waste that much?
Absolutely. Using a narrower roll for small jobs can cut side waste dramatically. For example, a 13-inch roll used for 3-inch logos wastes far less than a 24-inch roll.
What is the best way to nest different sizes on one sheet?
Place the largest items first, then fill gaps with smaller designs, rotating them if needed. Keep a consistent gap (usually 0.25 inch) to ensure clean cutting.
How can I prevent reprints that waste film?
Control humidity, maintain your printer, use even powder application, and always proof your file before printing. A few minutes of prep saves hours of rework.
Cutting film waste is not about drastic changes; it is about consistent habits. Start with one strategy, like grouping orders by film width, and build from there. Your margins will thank you.