
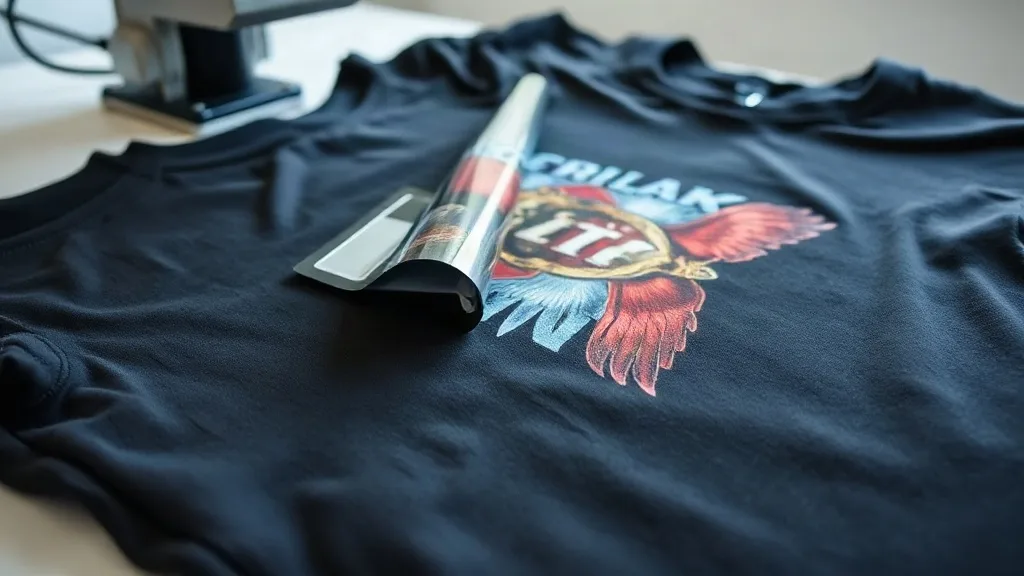
When you first start working with dtf transfers, it feels a bit like learning a new language. There are films, powders, curing times, and pressure settings to consider, and every step has a direct impact on how the final print looks and holds up. This guide walks you through the entire process, from picking the right materials to troubleshooting common issues, so you can produce consistent, professional results whether you're printing for fun or for paying customers.
What Are DTF Transfers and Why They Matter
DTF stands for direct-to-film. It's a printing method where your design is printed onto a special film, coated with a hot-melt powder, and then heat-pressed onto fabric. Unlike DTG, which prints directly onto the garment, DTF works on almost any fabric, including cotton, polyester, blends, and even some nylons. That versatility is why dtf has become a go-to for small shops and hobbyists who want to offer a wide range of products without stocking multiple printers or pretreating every shirt.
The process is straightforward: print, powder, cure, press. But each step has nuances that affect the final outcome. Let's break them down.
Choosing the Right DTF Film and Powder
Not all films are created equal. There are two main types: cold peel and hot peel. Cold peel films require the transfer to cool completely before you remove the carrier sheet, while hot peel films can be removed while still hot. Cold peel films generally produce a softer hand and are more forgiving if you're new to the process. Hot peel films speed up production but can be less forgiving if you're not careful.
Powder is another critical component. The powder is a hot-melt adhesive that binds the ink to the fabric. You'll find two common types: fine and coarse. Fine powder works well for detailed designs and gives a softer finish, while coarse powder is more durable and better for bold, high-coverage prints. The key is to apply an even coat and shake off the excess thoroughly.
Step-by-Step: Printing and Preparing the Transfer
Start with a high-quality file. Your printer's software will handle the color separation, but ensure your design is at least 300 DPI and in a format your RIP software supports. Print onto the film with the coated side up. Most films have a matte side and a glossy side; the ink goes on the matte side.
Once printed, immediately apply the powder while the ink is still wet. You can do this by pouring the powder over the film and shaking it gently, or by using a powder shaker for more even distribution. Then, shake off any excess powder. You want a thin, even layer that covers all the ink without clumps.
Next, cure the powder. You can use a heat press or a dedicated curing oven. If using a heat press, set it to 350°F (175°C) and press for about 10-15 seconds with light pressure. The powder should melt and look glossy. Avoid over-curing, as it can make the transfer brittle.
Applying the Transfer to Fabric
Pre-press the garment for a few seconds to remove moisture and wrinkles. Set your heat press to 300-325°F (150-160°C) and medium pressure. Place the transfer on the fabric with the printed side down (the powder side touching the fabric). Press for 10-15 seconds. If you're using a cold peel film, let it cool completely before peeling. For hot peel, peel immediately in a smooth, steady motion.
After peeling, you can do a second press with a Teflon sheet or parchment paper for a few seconds to smooth the print and ensure full adhesion. This step also helps if you notice any areas that didn't bond properly.
Common Problems and How to Fix Them
Prints Peeling or Cracking
Peeling usually means insufficient pressure, temperature, or time. Check your heat press settings and make sure the pressure is even across the platen. Cracking can happen if the transfer is over-cured or if the fabric stretches too much. Try lowering the curing temperature slightly or using a finer powder.
Dull or Faded Colors
Faded colors often result from under-curing the powder. The powder needs to melt fully to encapsulate the ink. If you're using a heat press, ensure the powder turns glossy before you stop curing. Also, check that your printer is using the correct ink profile for DTF.
Powder Not Sticking
If the powder isn't adhering to the ink, it's likely because the ink was too dry when you applied it. Work quickly after printing, and avoid printing in a very dry environment. You can also try a slightly thicker ink layer by adjusting your printer settings.
Finding Quality Supplies and Services
As you get more into DTF, you'll want reliable sources for film, powder, and ink. Many suppliers offer starter kits, but quality varies. Look for films that are compatible with your printer and powder that is specifically designed for DTF. If you're not ready to print yourself, you can always order transfers from a service. When you search for dtf transfers near me, you'll find local shops that can print and ship transfers, which is great for testing designs before investing in equipment.
Scaling Up: Tips for Small Shops
If you're running a small print shop, efficiency matters. Consider a roll-fed DTF printer to handle larger volumes, and set up a dedicated curing station. Keep a log of your settings for different fabrics so you can replicate results quickly. And don't overlook the importance of a good heat press; a reliable press with even pressure and accurate temperature control is worth the investment.
Frequently Asked Questions
Can I use DTF transfers on dark shirts?
Yes, DTF transfers work beautifully on dark fabrics because the white ink layer in the transfer provides a bright base for the colors. Just ensure your printer uses white ink and that the design includes a white underbase.
How long do DTF transfers last?
With proper application and care, DTF transfers can last as long as the garment itself. Wash inside out in cold water and avoid ironing directly on the print to maximize longevity.
Do I need a special printer for DTF?
You can convert many inkjet printers to DTF with DTF ink and film, but for consistent results, a dedicated DTF printer is recommended. It handles white ink circulation and has the necessary RIP software.
What's the difference between DTF and DTG?
DTG prints directly onto the garment, which requires pretreatment and works best on 100% cotton. DTF prints onto a film first, allowing it to adhere to a wider range of fabrics, including polyester and blends.
Can I reuse a DTF transfer?
No, DTF transfers are single-use. Once the powder has been cured and pressed, the transfer cannot be reused.